
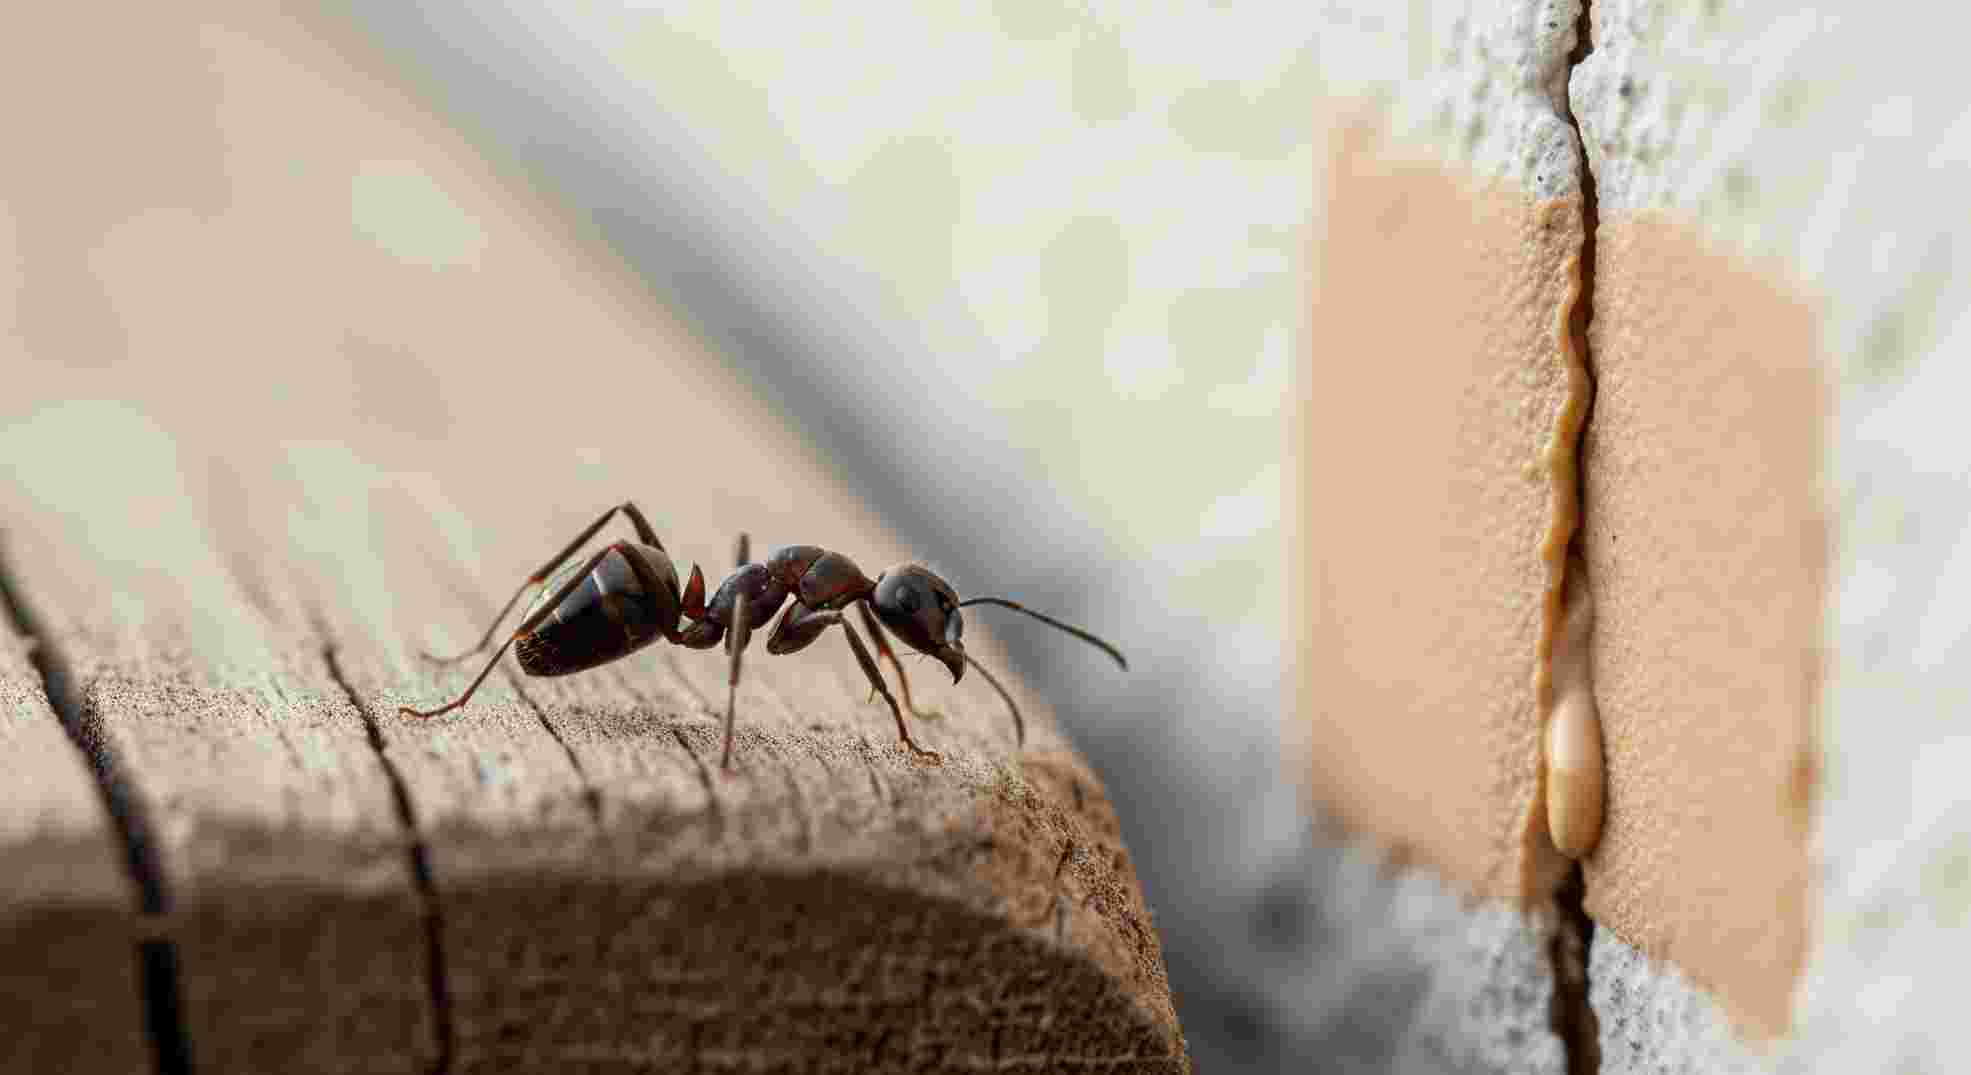
Late one autumn evening, you notice tiny ants marching in a neat line across your windowsill, carrying what looks like sawdust. At first, you think it’s just a minor annoyance—until you realize these aren’t regular pantry pests. They’re wood ants—more specifically, carpenter ants—and if left unchecked, they can tunnel through your home’s wooden structure like silent invaders.
What Are Carpenter Ants—and Why Should You Care?
Carpenter ants don’t eat wood, but they excavate tunnels in damp or decaying wood to build their nests. You’ll often find signs of them near windows, door frames, eaves, and structural beams. One telltale clue? Tiny piles of frass (a mixture of sawdust and insect debris) around entry points—like a breadcrumb trail of destruction.
Though they aren’t quite as feared as termites, carpenter ants can still cause serious structural damage over time. They hollow out wooden components, weakening your home’s foundation from the inside out. Beyond that, they’re a major nuisance, known to raid kitchens for sweets or protein-rich crumbs. Occasionally, they even bite—delivering a small sting of formic acid, which is unpleasant but not dangerous.
That’s why sealing your home is so important. It’s not just about keeping them out—it’s about cutting off access before they find an opportunity to settle in.
So, Will Sealing Your Home Keep Wood Ants Out?
Yes—absolutely. Sealing your home is one of the most effective long-term defenses against carpenter ants. But to get it right, you need more than just a tube of caulk. You need a full strategy that combines targeted treatment, smart sealing, and ongoing maintenance. Done properly, this approach not only removes current invaders but also prevents future infestations.
In the next parts of this guide, I’ll walk you through every step. From spotting the first signs to choosing the right products to sealing up gaps you didn’t even know existed.
💡 Pro Tip: For a quick start, consider keeping an outdoor ant barrier spray like TERRO Carpenter Ant & Termite Killer on hand. It’s a great backup for areas you might not be able to seal right away.
Identify the Threat 🔍🐜
It usually starts with a strange sound.
You’re sitting in a quiet room, and you hear what seems like faint crackling inside the wall. You brush it off. Maybe it’s just the old house settling. A few days later, you spot a lone ant crawling across your baseboard—and then, a little pile of what looks like sawdust under the windowsill. Something clicks in your brain. This isn’t just a coincidence. It’s the beginning of an infestation.
Before you seal up anything, you need to understand exactly what you’re dealing with.
Ant Types & Signs: Carpenter vs. Common Ants
Not all ants are created equal. If you mistake carpenter ants for ordinary pavement or sugar ants, you might use the wrong tactics—and lose precious time.
Here’s a quick comparison to help you spot the difference:
| Feature | Common House Ants | Carpenter Ants |
|---|---|---|
| Size | Small (1/8 inch) | Larger (up to 1/2 inch) |
| Color | Brown, black, or reddish | Usually black or dark red |
| Behavior | Attracted to food; trail in lines | May appear randomly; nocturnal foragers |
| Signs | No structural damage | Frass (sawdust), rustling in walls, hollow-sounding wood |
| Nesting | Soil, wall voids | Damp/rotting wood (interior & exterior) |
| Wings | Winged during mating | Winged ants often signal nesting inside |
🧠 Pro Tip: Tap on suspicious wood with the handle of a screwdriver. If it sounds hollow or the wood crumbles easily, there may be a carpenter ant nest inside.
Also, if you spot winged ants indoors, especially during late winter or early spring, it’s a strong sign that the nest is inside your home—not just nearby.
Locating Entry Points: Where They Sneak In
Carpenter ants are clever. They don’t barge in through open doors like houseflies—they slip in through tiny cracks and hidden voids. Some of their favorite entry points include:
- Foundation cracks (especially near soil and mulch beds)
- Gaps around window frames and sills
- Unsealed door frames or damaged weather stripping
- Utility penetrations (think pipes, cable lines, vents)
- Roofline gaps, soffits, and fascia boards
- Firewood piles stacked against the house
- Tree branches touching the roof or siding
To help you spot these, here’s a simple checklist you can use while inspecting your home:
| Area | What to Look For |
|---|---|
| Foundation | Cracks, gaps near soil, signs of frass |
| Windows & Doors | Warping, peeling paint, loose caulk |
| Exterior Walls | Openings around cable/pipes, siding damage |
| Roof & Attic | Chewed wood, insect activity, poor ventilation |
| Firewood/Brush | Ant trails, nests, damp logs near siding |
🛠️ Tip: Take a flashlight and a notepad. Go around your home’s exterior after dark—carpenter ants are most active at night, and that’s when you’re most likely to spot trails or activity.
Once you’ve identified the signs and entry points, you’ll be in a much better position to strike. But don’t reach for the caulk just yet. If you seal up an area while the ants are still active inside, you may trap them in—and they’ll look for a new way out, often deeper into your home.
Eliminate Attractants 🧲🚫
Imagine your home through the eyes of a carpenter ant.
They’re not just wandering aimlessly—they’re on a mission. They’re following moisture, smelling wood softened by decay, and zeroing in on the sweet scent of forgotten crumbs under the fridge. Before you can block their entry, you have to take away what’s luring them in.
The good news? With a bit of inspection and cleanup, you can make your home far less appealing to these uninvited guests.
Decaying Wood: An Open Invitation
Carpenter ants are obsessed with soft, moist, or decaying wood. That doesn’t mean you’ve done something wrong—it just means your home might have developed natural vulnerabilities over time.
Here’s where they love to settle:
| Area | What to Remove or Replace |
|---|---|
| Firewood piles | Move at least 20 ft away from house, off the ground |
| Old tree stumps & roots | Remove or grind them down |
| Mulch beds | Replace with stone or gravel near foundation |
| Old lumber/scrap wood | Dispose of it or store in sealed containers |
| Rotting decks/sheds | Repair, reseal, or replace weakened boards |
🌿 Tip: Use cedar mulch instead of hardwood mulch. It’s less appealing to ants and also helps repel some insects naturally.
If you suspect your siding, door frames, or deck posts have already been compromised by rot, it’s worth checking out this WoodHunger guide on repairing moisture-damaged wood, which also applies to ant-prone areas.
Moisture: The Secret Ingredient Ants Can’t Resist
Carpenter ants won’t nest in dry, healthy wood. What they need is moisture—which is why leaky pipes and humid basements become ant magnets.
Common moisture hotspots:
| Source | Fix |
|---|---|
| Leaky outdoor spigots | Replace washers or install hose bibs |
| Clogged gutters/downspouts | Clean regularly to prevent water pooling |
| Poor grading/drainage | Redirect runoff away from foundation |
| Damp crawlspaces or basements | Install vapor barriers or dehumidifiers |
| Attic condensation | Improve ventilation or add ridge vents |
🛠️ A small investment in a smart leak detector like the Govee WiFi Water Sensor (available on Amazon) can alert you to moisture issues before they invite ants—or mold—into your home.
Food & Cleanliness: Invisible Temptations
Even if the ants are nesting outside, food can lure them in like clockwork. Carpenter ants are especially drawn to sugary liquids, grease, and protein.
Key spots to stay on top of:
- Pantry: Store food in airtight containers (glass jars or BPA-free plastic)
- Pet food: Don’t leave food out overnight; use ant-proof pet dishes if needed
- Kitchen counters: Wipe down daily—especially near sinks and toasters
- Garbage: Use bins with tight-sealing lids, especially outdoors
- Dishwasher and sink: Wipe away drips and check for standing water
Here’s a simple kitchen sanitation checklist:
| Task | Frequency |
|---|---|
| Wipe down countertops | Daily |
| Empty garbage bins | Every 1–2 days |
| Sweep crumbs | Nightly |
| Deep clean under appliances | Monthly |
| Inspect pantry for spills | Weekly |
🧴 Recommended Product: Use a food-safe cleaner like Aunt Fannie’s Cleaning Vinegar (Amazon) that removes food residue and naturally repels ants with essential oils.
By eliminating attractants, you’re sending a clear message: “This house isn’t open for business.”
Treat Existing Infestation ⚔️🐜
Let’s say you’ve done everything right—cleaned up the yard, eliminated moisture, scrubbed the kitchen spotless. But the ants? They’re still there.
Because even with no food or water, if a colony is already nesting inside your walls, they’re not going to leave on their own. That’s where treatment comes in—not with panic, but with a well-timed, calculated strike.
Baiting Strategy: Patience Pays Off
When you see a trail of carpenter ants, your first instinct might be to spray them into oblivion. Don’t.
Contact sprays kill on sight, but they also alert the colony. Ants are smart—they’ll reroute, split up, and sometimes even create satellite nests deeper inside your home.
Instead, use slow-acting bait, which the worker ants will carry back to the colony and feed to the queen and larvae. This is the stealth approach—let the ants do the work for you.
| Product | Type | Where to Use |
|---|---|---|
| Advion Ant Gel | Gel bait | Along active trails, cracks near baseboards |
| Maxforce Carpenter Ant Bait Gel | Gel bait | Near structural wood, attic beams, crawlspaces |
| Terro Liquid Ant Baits | Sweet liquid | Kitchen, under sinks, behind appliances |
🧠 Pro Tip: Terro can be diluted with sugar water to stretch coverage and slow its kill rate for larger colonies. Place baits in low-traffic areas and don’t disturb the trail—the more ants that feed, the better.
🚫 Don’t seal entry points yet. Let the ants continue moving bait into the nest. You’ll want to wait until visible activity stops—typically within 5–10 days—before moving on to sealing.
Targeted Treatments: When You Find the Nest
Sometimes you can actually hear the nest—light rustling in the walls, especially at night. If you’re confident about its location (like a wall void, sill plate, or beam), you can use targeted treatments to kill the colony more directly.
Here’s how:
| Method | Use Case | Notes |
|---|---|---|
| Drill & inject insecticidal dust | For known wall voids | Use a product like Delta Dust—long-lasting and non-repellent |
| Foam insecticide | In hard-to-reach wood cavities | Expands to fill gaps (e.g. Alpine Ant & Termite Foam) |
| Borate treatment | For raw wood (attic, crawlspace) | Use BoraCare or Shell-Guard for long-term protection |
🧴 Borate solutions penetrate deep into wood and act as both a kill agent and preventive shield. They’re odorless, safe once dry, and perfect for treating exposed wood before sealing.
When to Call in the Pros
Carpenter ant infestations can spread to satellite galleries—nests separated from the main colony. If baiting and treatments don’t reduce activity within a couple of weeks, or if you’re hearing movement in multiple rooms, it might be time to bring in backup.
Consider professional help if:
- You see winged ants in multiple areas of the house
- The infestation is above ground (attics, second floor)
- Baiting fails after 2–3 weeks
- You find frass in new locations, suggesting spreading
Professionals use tools like thermal imaging, moisture meters, and wall injection systems to target nests without unnecessary damage.
Seal Up Physical Entry Points 🧱🔒
With the ants gone and the wood treated, you might feel a sense of relief—and you should. But don’t get too comfortable just yet.
Imagine finishing a home renovation but leaving the front door wide open. That’s what it’s like if you don’t seal your home after an infestation. Carpenter ants are opportunists, and if they found a way in once, they’ll try again—especially when the weather shifts or the colony looks to expand.
Now it’s time to seal your home like a fortress. You’re not just patching holes; you’re setting up long-term defense.
Recommended Materials & Techniques
When it comes to carpenter ants, not all sealants are created equal. You want materials that block tiny gaps, withstand weather, and resist chewing.
Here’s a rundown of what works—and where:
| Area | Material | Why It Works |
|---|---|---|
| Cracks in siding, brick, foundation | Exterior-grade silicone or latex caulk | Flexible, waterproof, paintable |
| Gaps around pipes, utility lines | Expanding spray foam | Fills large, awkward voids |
| Large holes or rodent tunnels | Steel wool + caulk | Ants can’t chew through steel; caulk locks it in place |
| Window & door frames | Weather-stripping | Seals movable joints; improves insulation too |
| Under doors | Door sweeps | Blocks crawling insects completely |
| Base of foundation | Gravel or sand barrier | Unattractive to ants; avoids moisture buildup from mulch |
🧰 Product Picks:
- GE Supreme Silicone Caulk (Exterior) – Flexible and weatherproof
- Great Stuff Pestblock Foam – Expanding foam infused with pest deterrents
- Copper Mesh Roll – Similar to steel wool but rust-resistant and easier to shape
🔥 Pro Tip: Avoid using pure wood mulch around the house foundation. Instead, maintain a buffer of gravel, sand, or stone at least 6–12 inches wide around your base walls. This helps with both ant prevention and moisture control.
Step-by-Step Sealing Guide 🪟🔧
If you’re unsure where to start, here’s a walkthrough to sealing your home the right way.
1. List Common Entry Zones
Do a full walkaround of your home—inside and out—and note these hotspots:
- Foundation edges and crawlspace vents
- Window frames, sill corners, door thresholds
- Holes where wires or pipes enter the home
- Gaps behind siding or under eaves
- Basement windows, attic vents
- Garage door seals and framing
You can use a smoke pen or incense stick to detect air movement at tiny gaps—if air’s getting in, so can ants.
2. Clean & Prep Surfaces
- Remove dirt, debris, and old caulk
- Dry the area completely (sealants won’t bond to damp surfaces)
- Trim back any branches or shrubs touching the walls or roof
3. Apply Sealant or Barrier
- For cracks: Fill with caulk or foam using a steady hand
- For holes or gnaw-prone gaps: Pack in steel wool, then seal over
- Around doors/windows: Add or replace weather stripping
- Utility gaps: Use foam backer rod first if the gap is deep, then caulk over
🖼️ Visual Tip: Use a caulking gun with a dripless tip and run a damp finger or finishing tool along the bead to smooth it and ensure full coverage.
4. Let Cure, Then Test & Inspect
- Check product instructions for curing time (usually 24–48 hours)
- Test windows and doors for drafts
- Gently tug on weather-stripping to confirm it’s secure
5. Repeat Inspections Seasonally
Make a habit of walking around your home:
| Season | What to Check |
|---|---|
| Spring | New insect trails, winter damage to seals |
| Summer | Dried, cracked caulk from heat |
| Fall | Gaps forming before ant overwintering |
| After Heavy Rain | Moisture damage, erosion near foundation |
🗓️ Add a reminder every 3–4 months on your phone or home maintenance calendar.
Now that your home is sealed, cleaned, and fortified, you’ve not only kicked the ants out—you’ve locked them out for good. But there’s still one more piece to complete the puzzle…
Ongoing Prevention & Maintenance 🌳🔄
You’ve kicked out the ants, sealed every crack, and reclaimed your home—but as any seasoned homeowner knows, prevention is never a one-and-done job.
Think of it like caring for a garden or tuning a car. Stay a step ahead of potential issues, and you’ll never have to face another full-blown infestation again. Let’s build a smart, sustainable maintenance routine that protects your home all year long.
Landscape Management: Your First Line of Defense
Carpenter ants often start outdoors, then migrate indoors when conditions are just right. That means your yard can either be a barrier or a bridge.
Here’s how to make it a barrier:
| Task | Why It Helps |
|---|---|
| Trim tree branches and shrubs | Prevents ants from accessing the roof or siding |
| Store firewood off the ground | Breaks their favorite nesting and hiding spot |
| Rake leaves and organic debris | Reduces moist nesting spots near the foundation |
| Replace wood mulch with gravel or sand buffer | Deters nesting right against the house |
🌿 Tip: Keep vegetation at least 12–18 inches away from the house walls for clear inspection and airflow.
Monitor Seals & Barriers
Even the best sealants don’t last forever. Changes in temperature, rain, and soil movement can slowly reopen gaps.
Inspect and refresh your barriers annually, and after major weather events:
| Material | Lifespan | When to Reapply |
|---|---|---|
| Exterior caulk | 5–10 years | Check yearly for cracks or peeling |
| Weather-stripping | 3–5 years | Replace if gaps appear or foam compresses |
| Foam insulation | Up to 10 years | Reseal if water-damaged or deteriorated |
| Door sweeps | 2–3 years | Replace if torn or no longer flush with floor |
🧰 Recommended tool: Keep a small DIY pest-sealing kit with caulk, foam, weather-strip, utility knife, and gloves for quick repairs.
Reinforce Healthy Habits 🧼
Routine habits make the biggest difference in the long run. Keep your home uninviting to ants with these weekly and monthly actions:
| Habit | Frequency | Benefit |
|---|---|---|
| Wipe down kitchen counters | Daily | Removes sweet & greasy residue |
| Store pantry food in sealed containers | Always | Prevents ant access |
| Take out trash and rinse bins | 2–3 times/week | Reduces scent trails |
| Run dehumidifier in basement | As needed | Keeps wood dry, discouraging nesting |
| Check under sinks and near appliances | Monthly | Catch leaks or early signs of ants |
🪤 Optional tip: Place discreet bait stations (like Terro or Combat) in crawlspaces or attics for early detection—especially in spring.
Annual Professional Inspections: Worth the Peace of Mind
Even with perfect prevention, some infestations can start behind walls or in inaccessible areas. If your home has a history of carpenter ants—or if you want total assurance—an annual inspection by a licensed pest control pro is a smart investment.
Professionals can:
- Detect hidden nests with moisture meters and thermal imaging
- Reapply borate treatments if needed
- Recommend spot repairs or improvements
- Catch other wood-boring insects like termites or powderpost beetles early
✅ Look for pest control companies that specialize in IPM (Integrated Pest Management) for eco-conscious, targeted prevention.
DIY & Natural Barrier Enhancements 🌿🛡️
Not everyone wants to go straight for chemicals when fighting off carpenter ants—and the good news is, you don’t have to. Nature has its own toolkit of powerful deterrents, and when used consistently, many natural methods can help reinforce your defenses.
Picture this: you’ve sealed up every gap, cleaned the yard, and you’re on top of food safety. But you want that extra insurance—something safe, sustainable, and maybe even a little aromatic. Let’s dive into how natural deterrents can help you finish the job.
Natural Repellents: Simple, Safe, and Satisfying
Many strong-smelling substances mess with an ant’s ability to follow scent trails. Some even irritate or dry them out. Here are a few natural options that work as physical or sensory barriers.
| Natural Repellent | How to Use | Why It Works |
|---|---|---|
| Peppermint oil | Mix 10–15 drops with water in a spray bottle; spray along entry points | Strong menthol scent overwhelms ant scent trails |
| Tea tree oil | Same as above or dab directly onto cotton balls near nests | Antiseptic and strong-smelling; disrupts colony movement |
| Citrus peel/oil | Rub orange or lemon peel along windowsills or cracks | Contains d-limonene, toxic to ants |
| White vinegar spray | 1:1 vinegar and water; spray on trails and entry points | Breaks scent trails and cleans surfaces |
| Cinnamon | Sprinkle powdered cinnamon at doorways and cracks | Acts as a barrier and irritant |
| Coffee grounds | Spread near foundation or in garden beds | Alters soil scent; may repel ants temporarily |
| Diatomaceous Earth (Food Grade) | Dust along baseboards, under appliances, wall voids | Cuts insect exoskeletons—kills by dehydration (safe for humans/pets if labeled food-grade) |
🌸 Pro Tip: Rotate scents every few weeks to prevent ants from adapting.
Home Recipe: Borax Sugar Bait 🧪🍬
Want a natural-ish bait solution that still packs a punch? This simple recipe is a budget-friendly alternative to store-bought baits like Terro—and it works on carpenter ants too.
✨ Homemade Borax Bait
Ingredients:
- 1/2 cup sugar
- 1 1/2 tablespoons borax
- 1 1/2 cups warm water
Instructions:
- Mix until the borax and sugar dissolve.
- Soak cotton balls in the mixture.
- Place on foil or jar lids near ant trails or suspected nests.
🧠 Why It Works: The sugar lures ants in, the borax kills them slowly so they carry it back to the colony. Patience is key—just like with commercial baits, don’t disturb the trail!
⚠️ Note: Keep out of reach of pets and kids. Borax is natural, but not meant to be ingested.
Natural vs. Chemical: A Fair Comparison
It’s tempting to go fully chemical-free, but it’s important to weigh the pros and cons—especially depending on the severity of your infestation.
| Approach | Pros | Cons |
|---|---|---|
| Natural | Safe around kids/pets, environmentally friendly, good for prevention | Slower results, may require frequent reapplication, not always colony-killing |
| Chemical | Fast-acting, reliable, penetrates colonies deeply | Toxic if misused, not always safe for all pets, can disrupt beneficial insects |
| Integrated (IPM) | Combines both approaches strategically | Best balance of safety and effectiveness |
🏆 Best Strategy: Use natural methods for maintenance and prevention, and resort to chemical treatments only when necessary—especially during active infestations.
A Natural Home Is a Safer Fortress
If you’re already doing the work—sealing, cleaning, managing moisture—then natural repellents are the perfect finishing layer. They reinforce what you’ve built, add pleasant aromas to your living space, and offer peace of mind for families who prefer a greener path.
Final Thoughts & Action Plan 🏠🛠️
Carpenter ants may be small, but their impact on your home can be huge—if you let them. The good news? You’ve now got everything you need to stop them in their tracks.
Let’s recap the three-pronged strategy that transforms your home from an easy target into a sealed fortress:
- Identify the problem early by learning the signs, finding entry points, and understanding the difference between nuisance ants and destructive carpenter ants.
- Treat infestations thoroughly with baiting and targeted wood treatments. Don’t just fight what you see—eliminate the colony.
- Seal and Maintain with physical barriers, regular inspections, and consistent home hygiene to keep ants (and other pests) from returning.
Why Acting Now Matters
Delaying action gives carpenter ants time to burrow deeper, expand their colonies, and weaken the structural integrity of your home. Even a minor infestation can lead to:
- Hollowed-out beams or wall studs
- Moisture damage and hidden rot
- Expensive professional repairs
- The return of pests season after season
By staying proactive—not reactive—you save time, money, and a whole lot of frustration.
Your Wood Ant Defense Checklist ✅
Here’s a handy reference you can print, save, or even stick to the fridge:
| Task | Frequency |
|---|---|
| 🔍 Inspect for frass, hollow wood, or ant trails | Monthly |
| 🪵 Clear stored wood & mulch near home | Seasonally |
| 💧 Fix leaks & improve ventilation | As needed |
| 🧼 Wipe counters, seal food, clean pet dishes | Daily/Weekly |
| 🧪 Place slow-acting baits if ants are seen | When signs appear |
| 🧱 Seal cracks, gaps, and utility holes | Yearly or after weather shifts |
| 🌿 Trim branches and clear debris | Spring/Fall |
| 🧽 Reapply caulk/weather-stripping | Every 1–2 years |
| 🐜 Sprinkle natural deterrents (peppermint, cinnamon, DE) | Monthly |
| 🧰 Schedule a pro inspection (if high-risk area) | Yearly |
📅 Pro Tip: Add a recurring reminder every spring to walk through this checklist—it’s when ants become most active.
You’re the Guardian of Your Home
At the end of the day, sealing your home against wood ants isn’t just about pest control—it’s about protecting your investment, your peace of mind, and the place you call home.
Whether you’ve just defeated a colony or you’re working to prevent one, your actions today ensure a safer, stronger tomorrow. Stay consistent. Stay observant. And update your defenses as your home ages and seasons change.
Your home deserves nothing less.